
Hello and welcome to today’s post! In this one, I will show how to create a Site-to-Site connection between an Azure Network and one that is On-Prem.
In order to complete these following steps, you will need to have some prerequisite:
- An Azure Virtual Network
- An Azure Windows Virtual Machine
- An up and running Windows Server
This is the plan for today’s post:
- Part 1: Create a Gateway subnet
- Part 2: Create a Network Gateway
- Part 3: Create a Local Network Gateway
- Part 4: Configure Server for connection
- Part 5: Create an Azure connection and verify connectivity
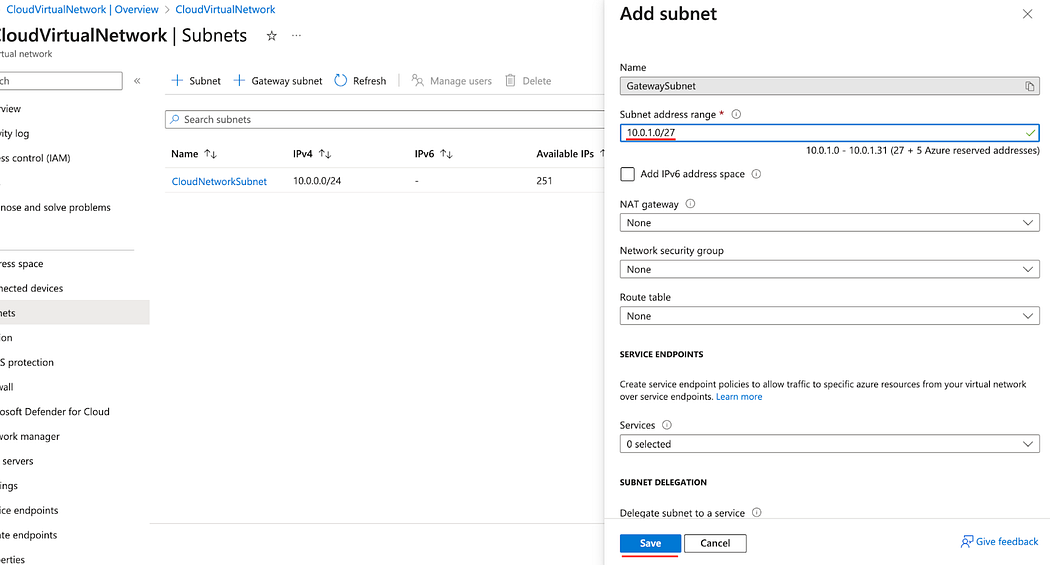
Part 1: Create a Gateway subnet
- Go to your Azure Virtual Network page. Under settings, click subnets.
- Click + Gateway subnet.

- Enter a subnet address range and click Save.
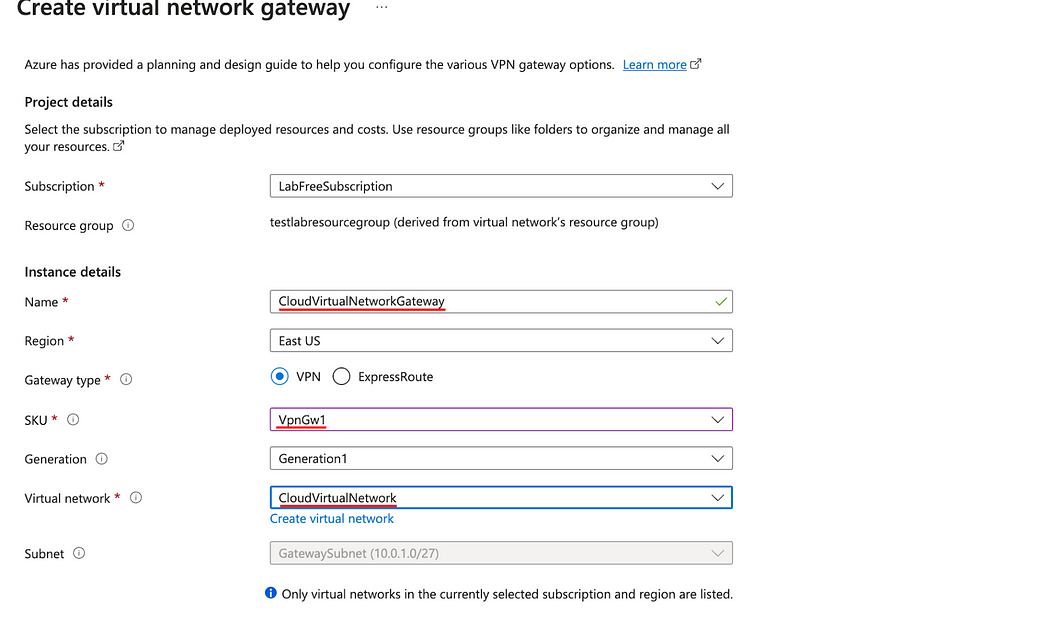
Part 2: Create a Network Gateway
- In the search bar, enter virtual network gateways and click on the choice given as shown below.

- Click Create.

- Enter the Name for the gateway.
- In the SKU field, enter VpnGw1.
- In the Virtual network field, select the appropriate network that you want to connect. That network is the same that contains the Gateway subnet that we created earlier.
- In the Public IP address field select Create new.
- In the Public IP address name, enter a name recognizable name.
- Click Review + Create, then Create.

Part 3: Create a Local Network Gateway
- In the search bar, type Local network gateways as shown below.

- Click Create

- Enter Name.
- Enter the IP address of your Router.
- Enter the Address Space of you local network.
- Click Review + Create, then Create.

Part 4: Configure Server for connection
Part 4.a: Add Remote Access feature
- In your server manager dashboard top bar, click Manage then Add Roles and Features.

- Click Next until the Server Roles page then check Remote Access.
- Click next until you get to Select Role services page.

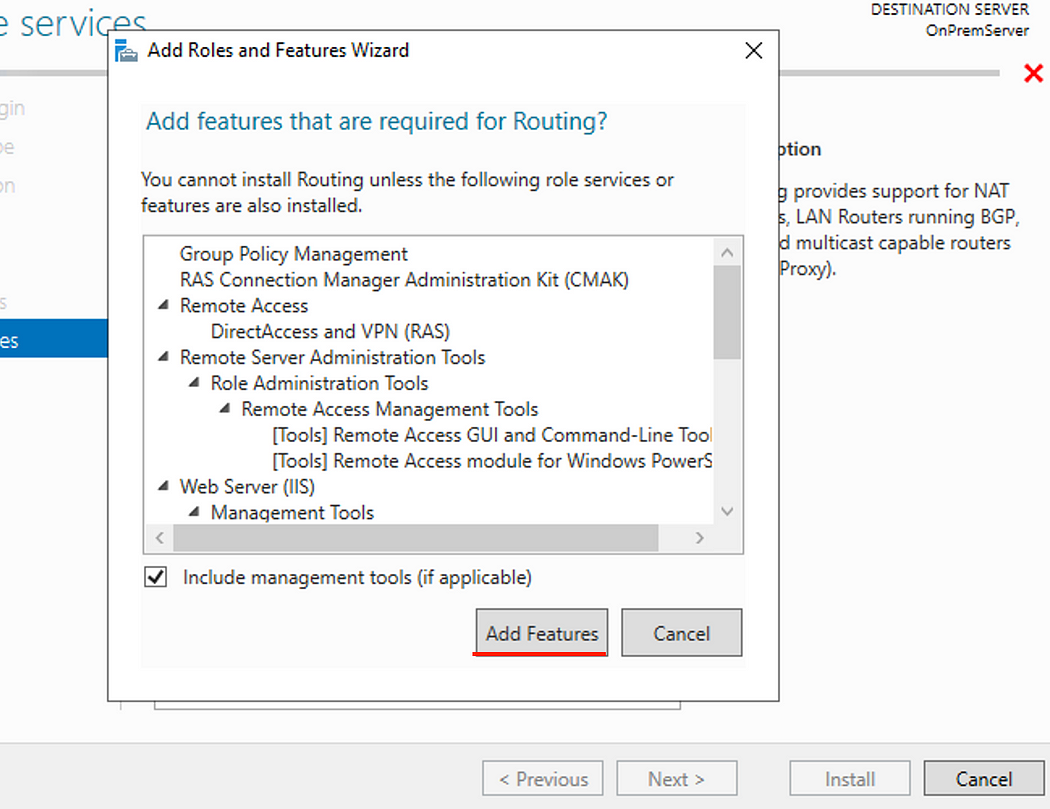
- Check Routing. (DirectAccess and VPN (RAS) will be automatically selected.)

- Click Add Features then click next until you get to the confirmation page.
- Click Install

- When the installation is complete, click Close.

Part 4.b: Configure Routing and Remote Access
- On the top bar of the server manager, click Tools, then Routing and Remote Access.

- On the Routing and Remote Access, right click on the Server icon then click Configure and Enable Routing and Remote Access.

- Select Custom configuration, then click next.

- Check VPN access and LAN routing then click next.

- Click Finish.

- Click Start service.

Part 4.c: Create a new Network Interface
- Back on the Routing and Remote Access window, right click Network Interface, then New Demand-dial Interface.
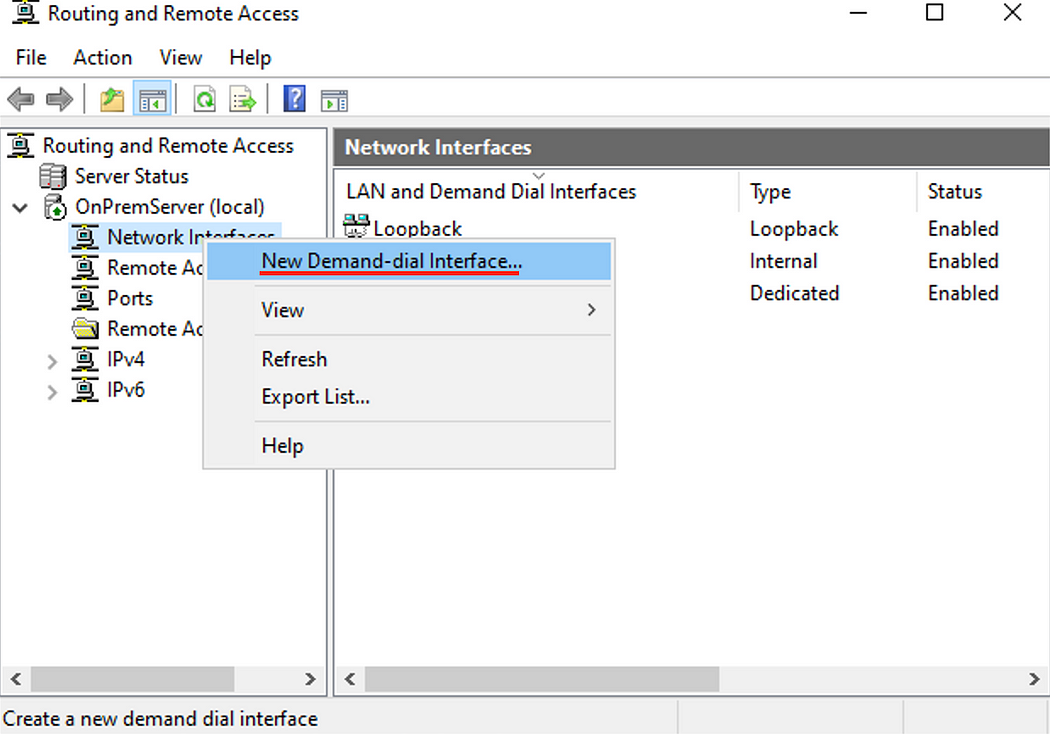
- Enter a Name for the interface then click next.

- Select Connect using virtual networking (VPN) then click Next.

- Select IKEv2 then click next.

- Enter the public IP address of the Virtual Network Gateway that we created earlier then click Next.

- Check Route IP packets on this interface, then Next.

- Click Add.

- Enter the Cloud Destination address and Mask.
- Enter 10 for Metric, then click OK. (Metric specifies the priority)

- Click Finish

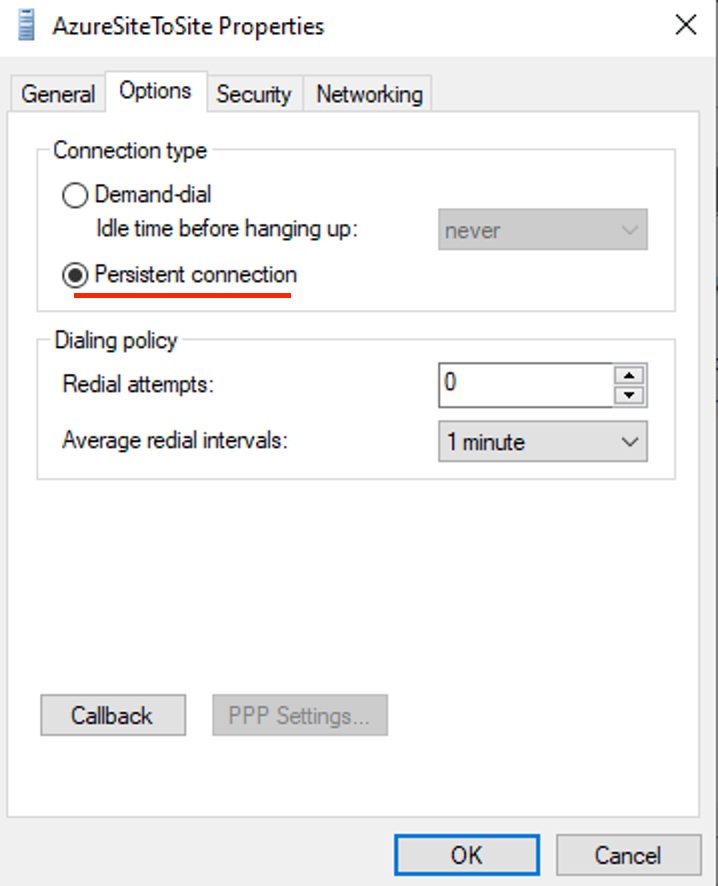
- Right Click on the newly created interface, then click Properties.

- In the Option tab, select Persistent connection
In the Security tab, select Use preshared key for authentication and enter a Key that we will use later, then click OK.

Part 5: Create an Azure connection and verify connectivity
- Back in Azure, search for Connections.

- Click Create

- Select Site-to-site (IPsec) for Connection type.
- Enter a Name for the connection and click Next.

- Select the appropriate Virtual network gateway and Local network gateway that we created at the beginning.
- In the Shared key field, enter the Preshared Key that we created earlier and click Review + create, then Create.

- After the deployment is complete, click Go to resource.
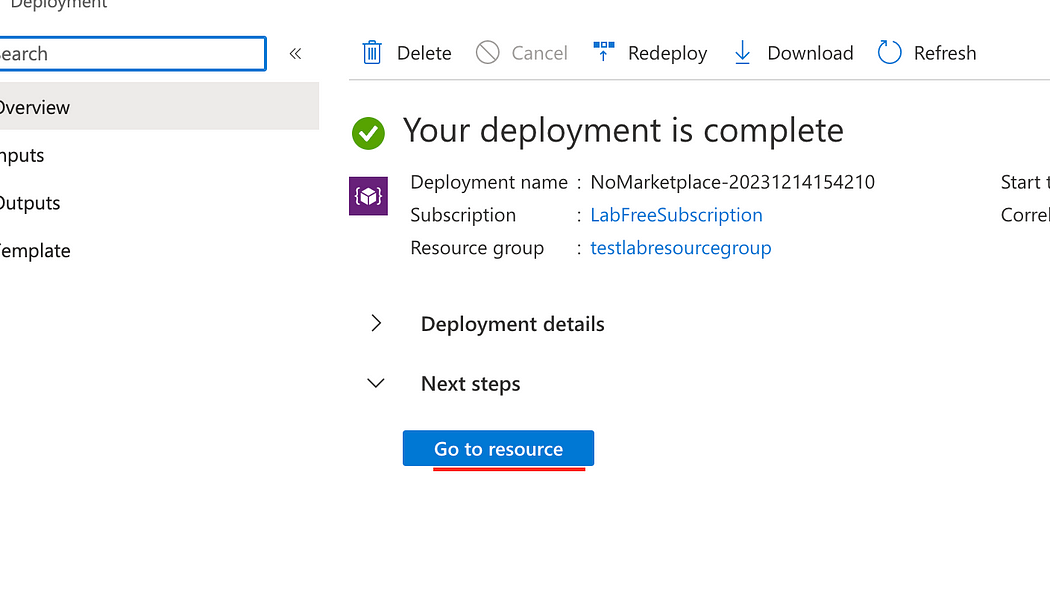
- Notice the status says Not Connected.

Back in the Server manager Routing and Remote Access window, right click the Interface that we created earlier and click Connect.


- Back in the Connection page on Azure, click Refresh and notice the status says Connected. (It might take a few minutes to update).

- Test the connection by Pinging the cloud machine with its private IPv4 address to test the connection. (Make sure the cloud machine firewall allows Pings from the internal network.)

This wraps up this post on Setting up a Site-to-Site connection between an on-prem network and an Azure network.
Thank you for reading!
'IT이야기 > Azure' 카테고리의 다른 글
| Azure 가상 네트워크 피어링 개요 (0) | 2024.12.13 |
|---|---|
| Azure Routing Table: Azure Route & Next-Hop Types (0) | 2024.12.12 |
| Azure VMware Solution (AVS) Deep Dive (0) | 2024.12.04 |
| The 7 R Considerations for Migration – Modernization process (5) | 2024.12.03 |
| Azure Virtual Desktop에 대한 Zero Trust 보안 모델 구현 (1) | 2024.12.03 |


